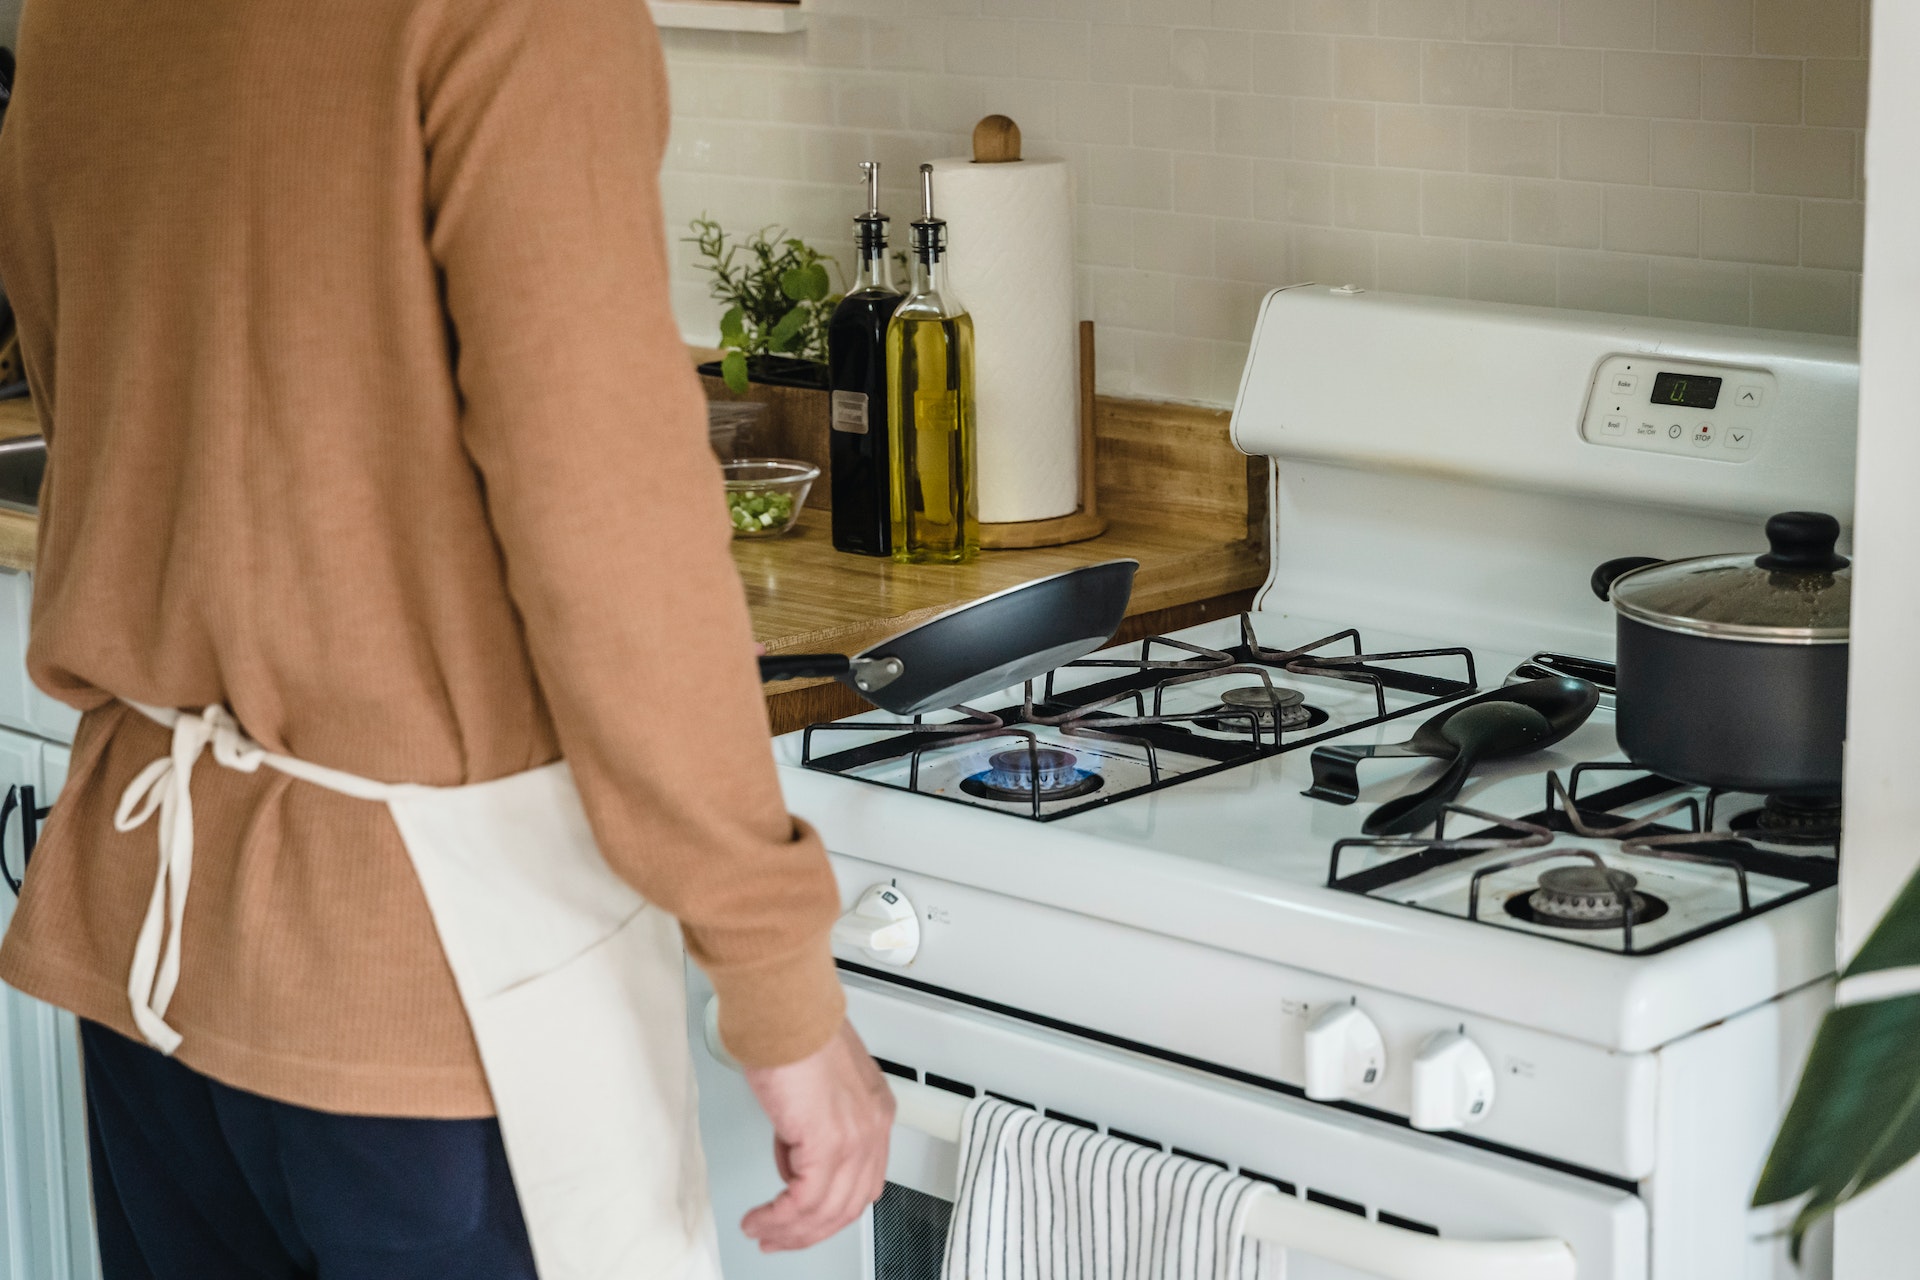
It’s inevitable. While cooking your favorite dish, grease and food splatter or food overflows. It’s too hot to clean it up while cooking, or directly thereafter. That being said, it’s not safe to allow your grease and food particles to build up. Not only can they increase your need for stove repair, but they create a safety risk.
Why Clean Your Cooktop?
Beyond visual aesthetics, stuck-on food and grease are breeding grounds for bacteria. They also attract dust and pet hair, which accelerate bacteria growth. Over time, this build-up can stain your cooktop and hinder your indoor air quality. It can also contaminate your upcoming meals.
Even if the rest of your home is clean and sanitized, this build-up attracts ants, flies, and cockroaches.
Last but not least, the particles that splatter down and sideways, also splatter up. When they build up in your range hood it increases your fire risk. Even a tiny spark that flies up into your range hood can cause a full-on fire.
This is one of many reasons to keep a miniature (or full-sized) fire extinguisher in your kitchen—and a few other strategic locations throughout your home.
How to Minimize Cooking Spills?
There is no way around the need to clean and sanitize all areas of your kitchen. Reducing grease splatters and spills will make cleanup faster and easier and minimize your need for stove repair.
These tips will help:
- Turn your range hood on every time you cook.
- Upgrade to a modern range hood that can filter out grease.
- Ensure you are cooking in a large enough pot or pan.
- Avoid the temptation to overfill your cookware.
- Dry meat before frying to minimize grease splatters.
- Use an at-home deep frier instead of your cooktop.
- If using your cooktop, use a splatter cover when frying foods.
- When not frying foods, don’t use too much oil.
- Use the correct oil for your cooking temperature.
- Use non-stick pans that don’t require as much oil.
When to Clean Your Cooktop?
Light daily cleaning and weekly deep cleaning are ideal. Clean your countertops as you go and perform a more thorough wipe-down once you are done cooking. After your cooktop has cooled down, use an appliance-safe sanitizer and sponge, brush, or cloth. Read your owner’s manual to ensure you know what chemicals and cleaning tools are appliance-safe, as they vary by brand, make, and model.
If you use the wrong solution or tool, it may cause damage beyond a standard stove repair. For example, if you scratch the surface, you may not be able to reverse the damage.
If you have a major mess, such as spaghetti sauce splatters, try to clean it up on the same day. If possible, clean while your cooktop is warm, but not hot. This will make it easier to clean. Or let your cleaning solution sit for a few minutes before you scrub it away.
How to Make a DIY Cooktop Cleaning Solution?
Beyond store-bought formulas, baking soda, vinegar, water, and dish soap are effective for most cooktops. You can use a microfiber cloth on all cooktops, but ensure brushes and scrapers are appliance-safe. That being said, a DIY baking soda paste is scratch-free and provides all the abrasive power you need—and vinegar is a natural degreaser.
As an added bonus, they are environmentally friendly cleaning products! If someone in your home has respiratory concerns, neither baking soda or vinegar will irritate their lungs—and they won’t degrade air quality.
Depending on your needs:
- Mix a 1/2 cup of baking soda with 3 to 4 tablespoons of water to create a cleansing paste. This solution is ideal for an excessive amount of build-up.
- Mix 2 tablespoons of vinegar with 4 tablespoons of baking soda and a few drops of antibacterial dish soap. This fizzy solution is ideal for daily cleaning, deep cleaning, and dissolving grease.
Again, if you use the wrong product or tool, a simple stove repair may not fix the aesthetic damage.
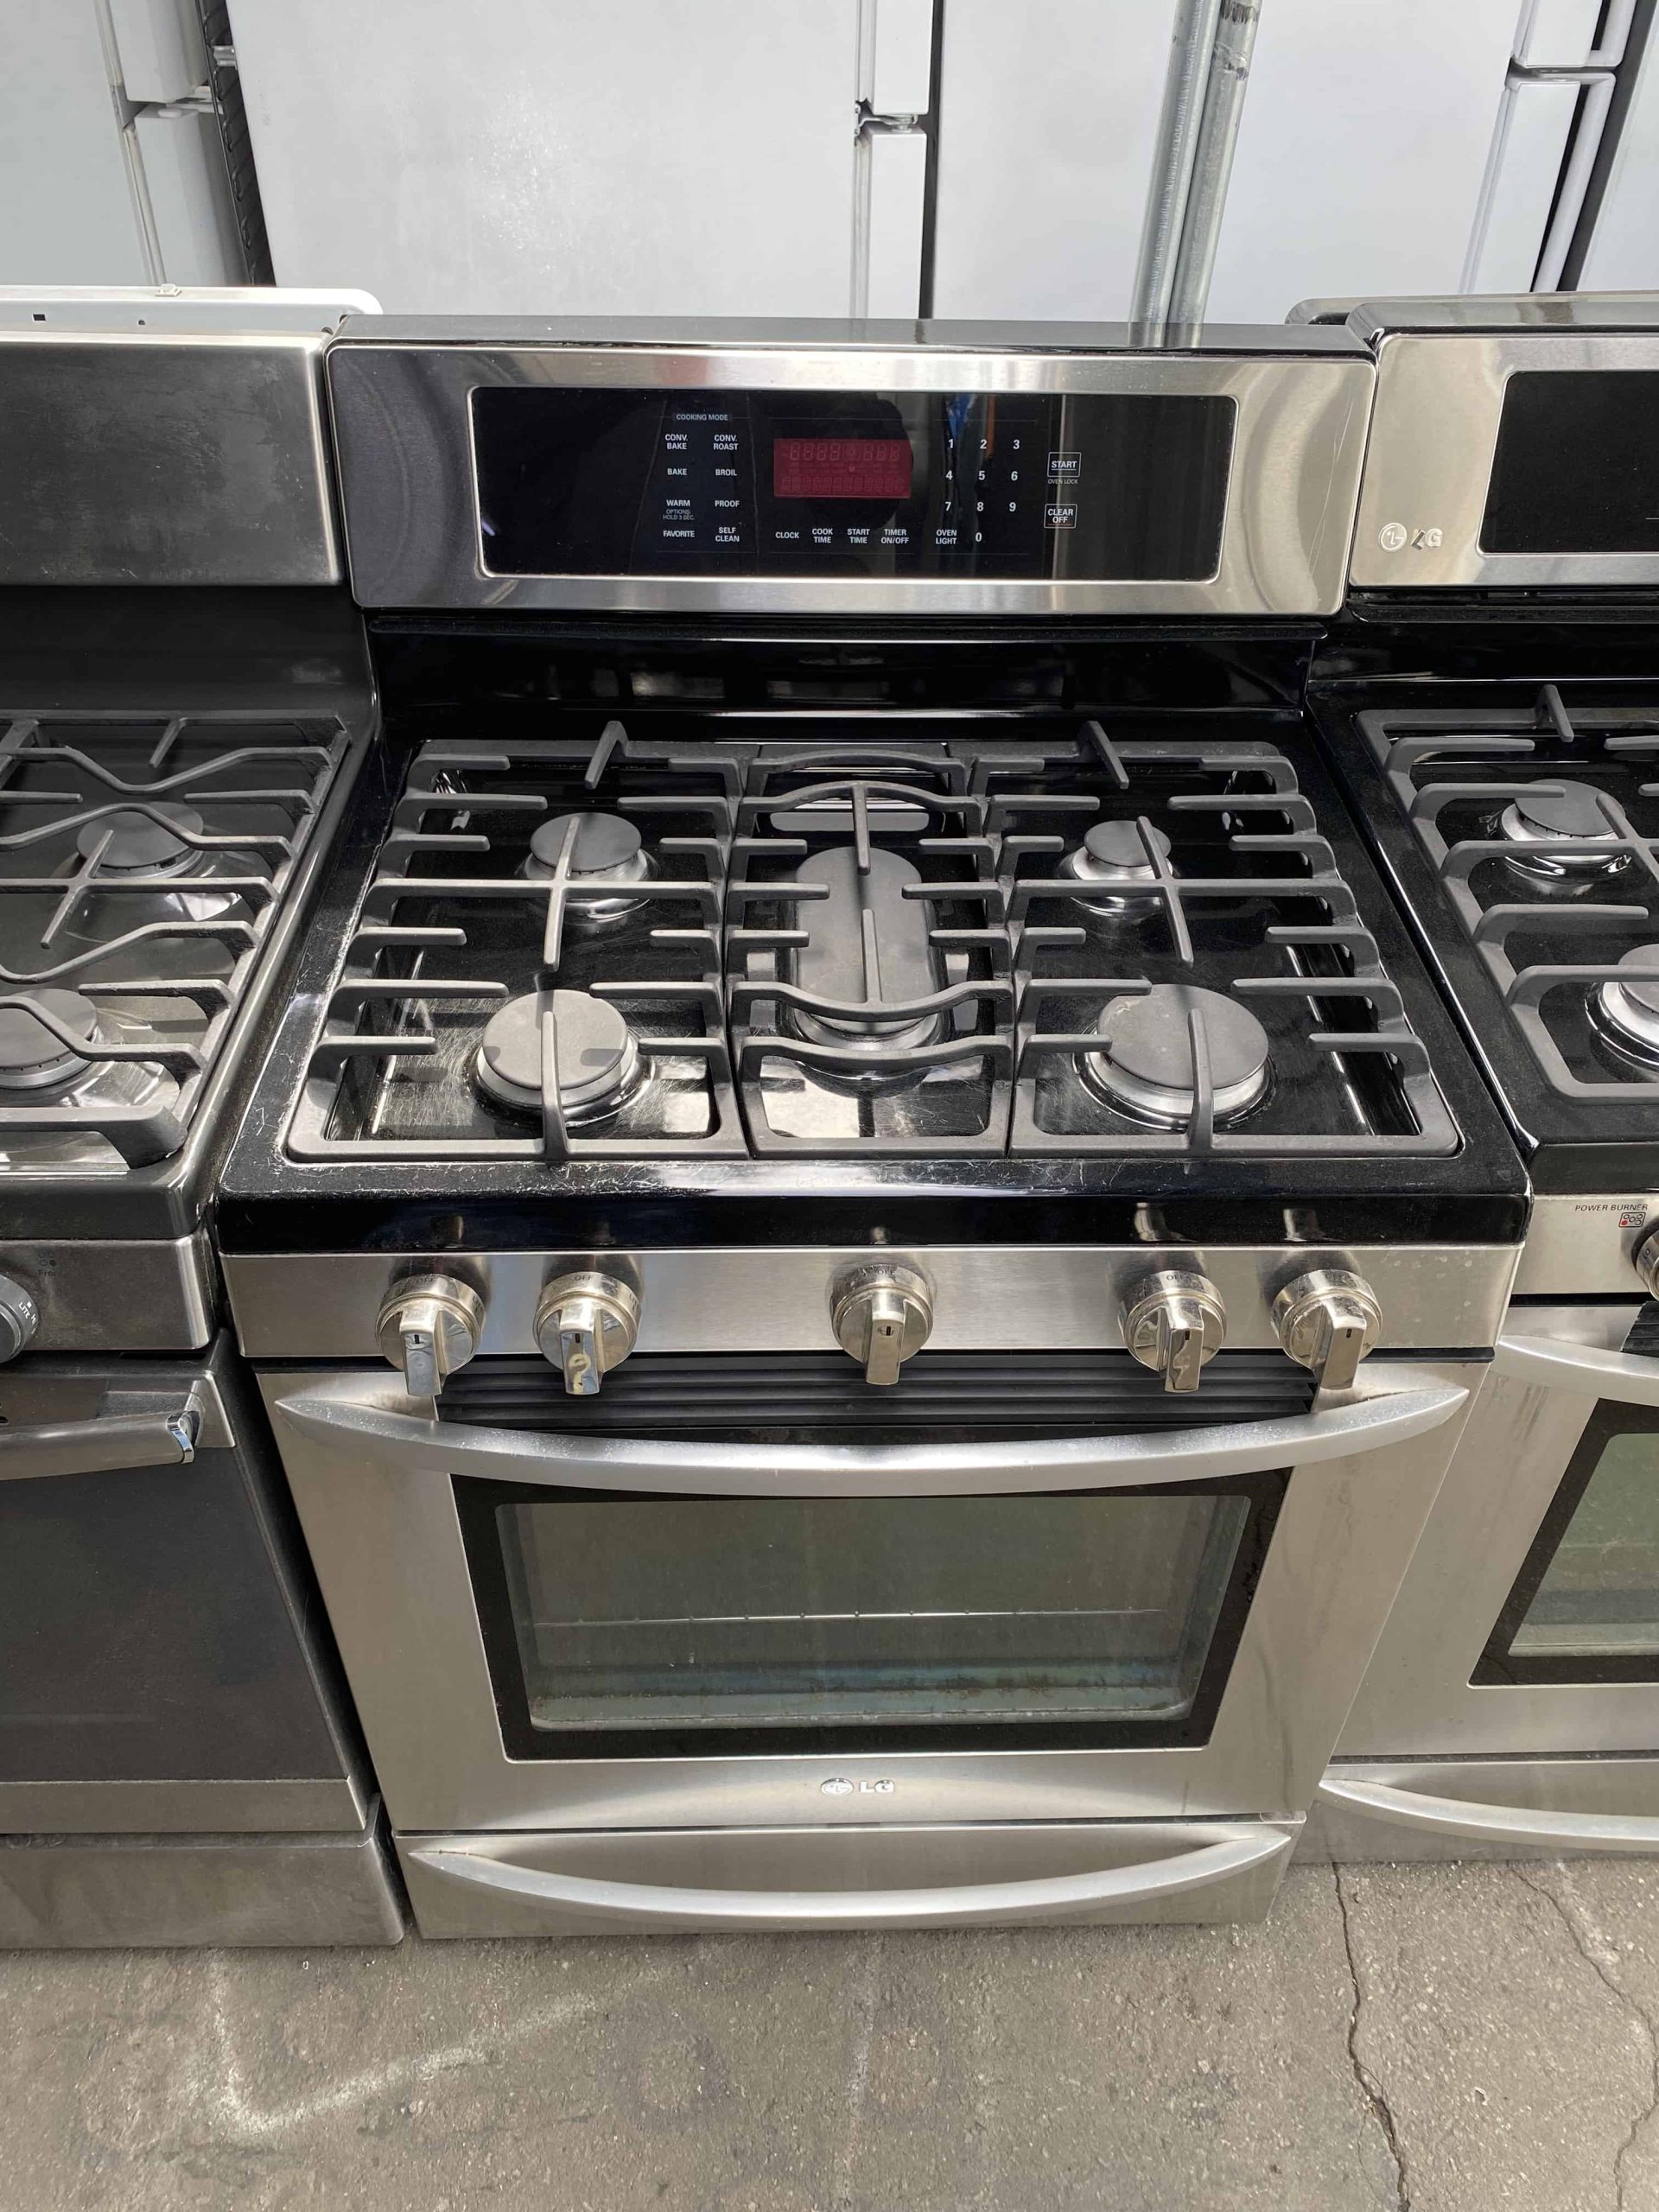
How to Clean Your Gas Grates, Burner Caps, and Burner Heads?
The grates are what your pots and pans sit on. The burner caps are the round disks on top. The burner heads are the parts underneath the caps.
You may be able to use your dishwasher! Check your owner’s manual to see if any or all of these accessories can be washed in the dishwasher. If so, pop them in and let them air dry before returning them to your cooktop. If you aren’t sure, perform an online search so that you aren’t left with a costly stove repair. Not only is replacing your damaged parts costly, but your cooktop will be out of commission in the meantime.
If your grates, caps, and burner heads aren’t dishwasher-safe, follow the steps below:
- Fill your kitchen sink with warm soapy water.
- Place the grates, caps, and burner heads in your sink for 15 to 30 minutes.
- Drain the water and wipe them down.
- If food is still stuck on, use a soft bristle brush to loosen it. Be gentle with the burner heads, as they can easily be damaged.
- Rinse the soap away and allow all parts to air dry before returning to your cooktop.
How to Clean Your Gas Cooktop?
While your grates, caps, and burner heads soak, detail your cooktop.
- Mix one of the two paste recipes above. If you have grease, use the vinegar solution as vinegar is a natural degreaser. Or spray on an appliance-safe solution.
- If your cooktop is lightly soiled, you can wipe it down ASAP with a microfiber cloth or appliance-safe soft bristle brush.
- If your cooktop is extremely soiled, let the soiled areas soak while you wipe down the cleaner areas.
- Once clean, wipe your cooktop dry with a cloth.
- Once all parts are dry, reassemble your cooktop.
Searching for Same-Day Stove Repair in Santa Barbara?
If your cooktop, oven, or any appliance in your home is broken or malfunctioning—give Superior Appliance Repair a call. We provide same-day and after-hours services and can repair most issues without delay.