Whether you’ve just returned from Costco, are preparing for a holiday, have a large family, or you love to cook and are always well-stocked—your refrigerator can run out of room. The refrigerator and freezer organization tips below will help you maximize your space.
Why Organization Matters?
Organization makes it faster and easier to find what you are searching for in every area of your home. Organizing your food areas has a few added benefits:
- When food is easier to see and find you have less food waste. The average family wastes 1 pound of food per day, so these tips are environmentally friendly.
- Packing food too tightly minimizes airflow, decreasing efficiency and shortening your refrigerator’s lifespan.
- You may be inspired to cook more with a fridge, freezer, and kitchen that is easier to use. This saves money and encourages healthier food choices.
Now let’s dive into organizational tips.
#1 Understanding Food Zones
Not every area of your fridge cools foods the same. Here are some quick tips to help you understand where foods should be placed.
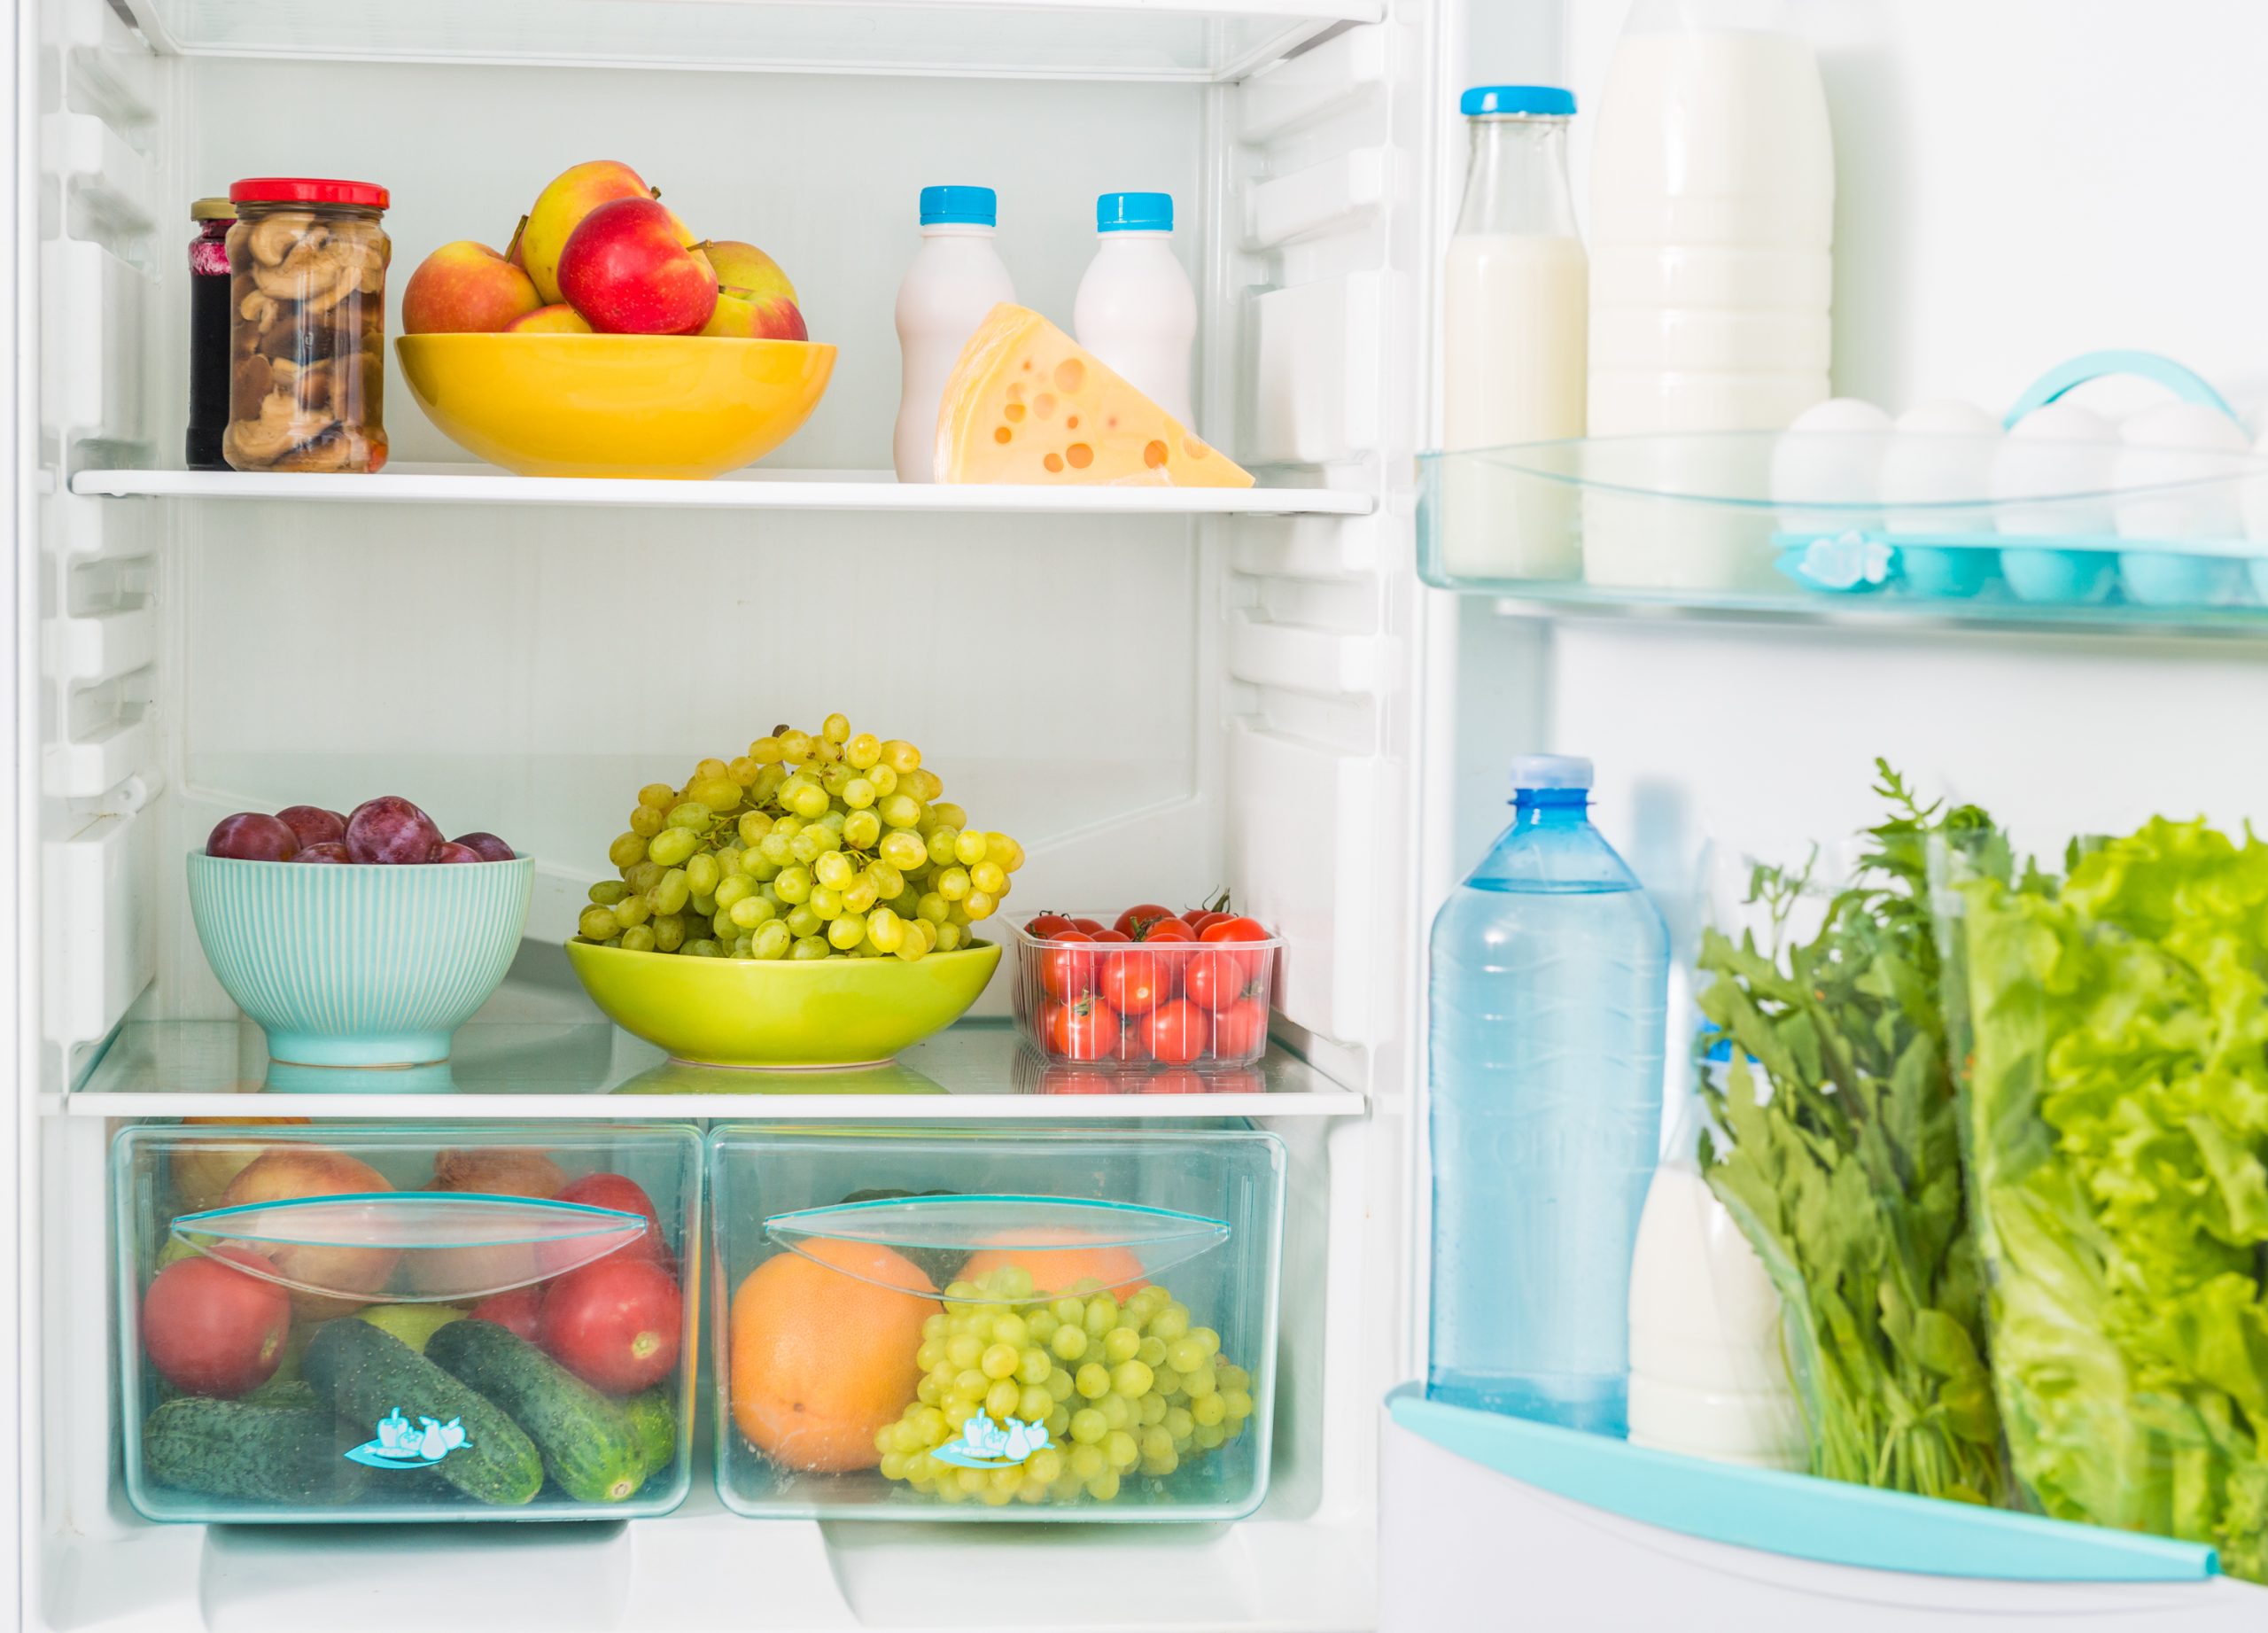
Warmer Zone—heat rises, so the top shelves and the doors of your fridge and freezer are the warmest areas. Store liquids and easy to cool/freeze items in this area such as condiments, cheese, individual yogurt, eggs, dips, dressings, and thin sauces.
Coolest Fridge Zones—in your fridge, the bottom shelf is the second coolest area, and the middle shelf is the third coolest area. This is where you should store meat, seafood, milk, and leftovers. Since your crisper is enclosed, it is even cooler than the bottom shelf. Mid-level drawers are also cooler.
Coolest Freezer Zones—the coolest area of your freezer will vary depending on the make and model. The bottom shelf is often the coolest area, but if you have an icemaker at the top, the top is the coolest area. In modern frost-free freezers, the air circulates ensuring a more even temperature. Just be mindful that the vents aren’t blocked.
#2 Organizational Tools and Tips
Now that you understand where to place your food, let’s dive into refrigerator and freezer organization.
Storage bins—measure your fridge before you purchase bins to ensure you maximize space. Ideally, most bins should run the full length of your shelves, so “deep” fridge bins may be required. Some, but not necessarily all, of your bins should be stackable.
Clear food storage—if you haven’t yet, consider upgrading to clear glass and plastic containers. This makes it faster and easier to see what is inside. Square and rectangular shapes maximize space. Also, consider clear silicon and vacuum seal bags.
Lazy Susan—if your condiments won’t all fit in the doors, consider investing in a lazy Susan. In the fridge, select one that has elevated sides to eliminate the risk of things falling out if you need to slide it around the shelf.
Item-specific organizers—from egg holders to soda can risers, produce drawer dividers, and more. This maximizes space for the items you always have in your fridge.
#3 Label and Date
Grab and go is the goal! While everything is clear, you will need to slide your organizers around to grab what you want. So, label the drawers and organization bins that house regularly stocked items. For example, if you have multiple drawers, one may be for deli meat and cheese, and meat and seafood that is defrosting—and the other for produce. Or one for fruits and one for veggies.
Even when using clear containers for refrigerator and freezer organization, it can be challenging to determine what is inside when it is frozen. So, label the contents and either the date it was placed inside or the use-by date. In the fridge, you can see what is in smaller containers but consider adding the use-by date.
You can use dry-erase crayons to label silicon bags, and you can find reusable and washable labels to label glass and plastic containers.
#4 Organize by Priority
In addition to knowing what zone to place items in, place what you use most front and center. This way you don’t have to move too much around or reach too far back in the bin to find what you want. For example, leave a spot for everyone’s lunch bags on the front of the top shelf so they can grab it on the way out the door.
Also, place foods and beverages that are about to expire in the front as a friendly reminder.
#5 Weekly Clean Out Date
A clean fridge and freezer are essential for organization. So, set a reminder on your phone to clean out your fridge one day each week. Every 3 months for your freezer. This will minimize food waste, maximize efficiency, and minimize the amount of cleaning you have to do. Even with a dishwasher, it’s never fun to dispose of spoiled foods.
If you haven’t yet, your weekly clean-out date is also the ideal time to prep food, remove excess packaging, and portion food into smaller containers.
Don’t forget, you can compost fruits and veggies that have spoiled.
#6 Upgrade or Add a Second Fridge or Freezer
If you have tried all of the tips above and you still don’t have enough room, it may be time to upgrade to a larger fridge. If you have the space, you can also add a second fridge or freezer to manage your overflow or bulk items from places such as Costco.
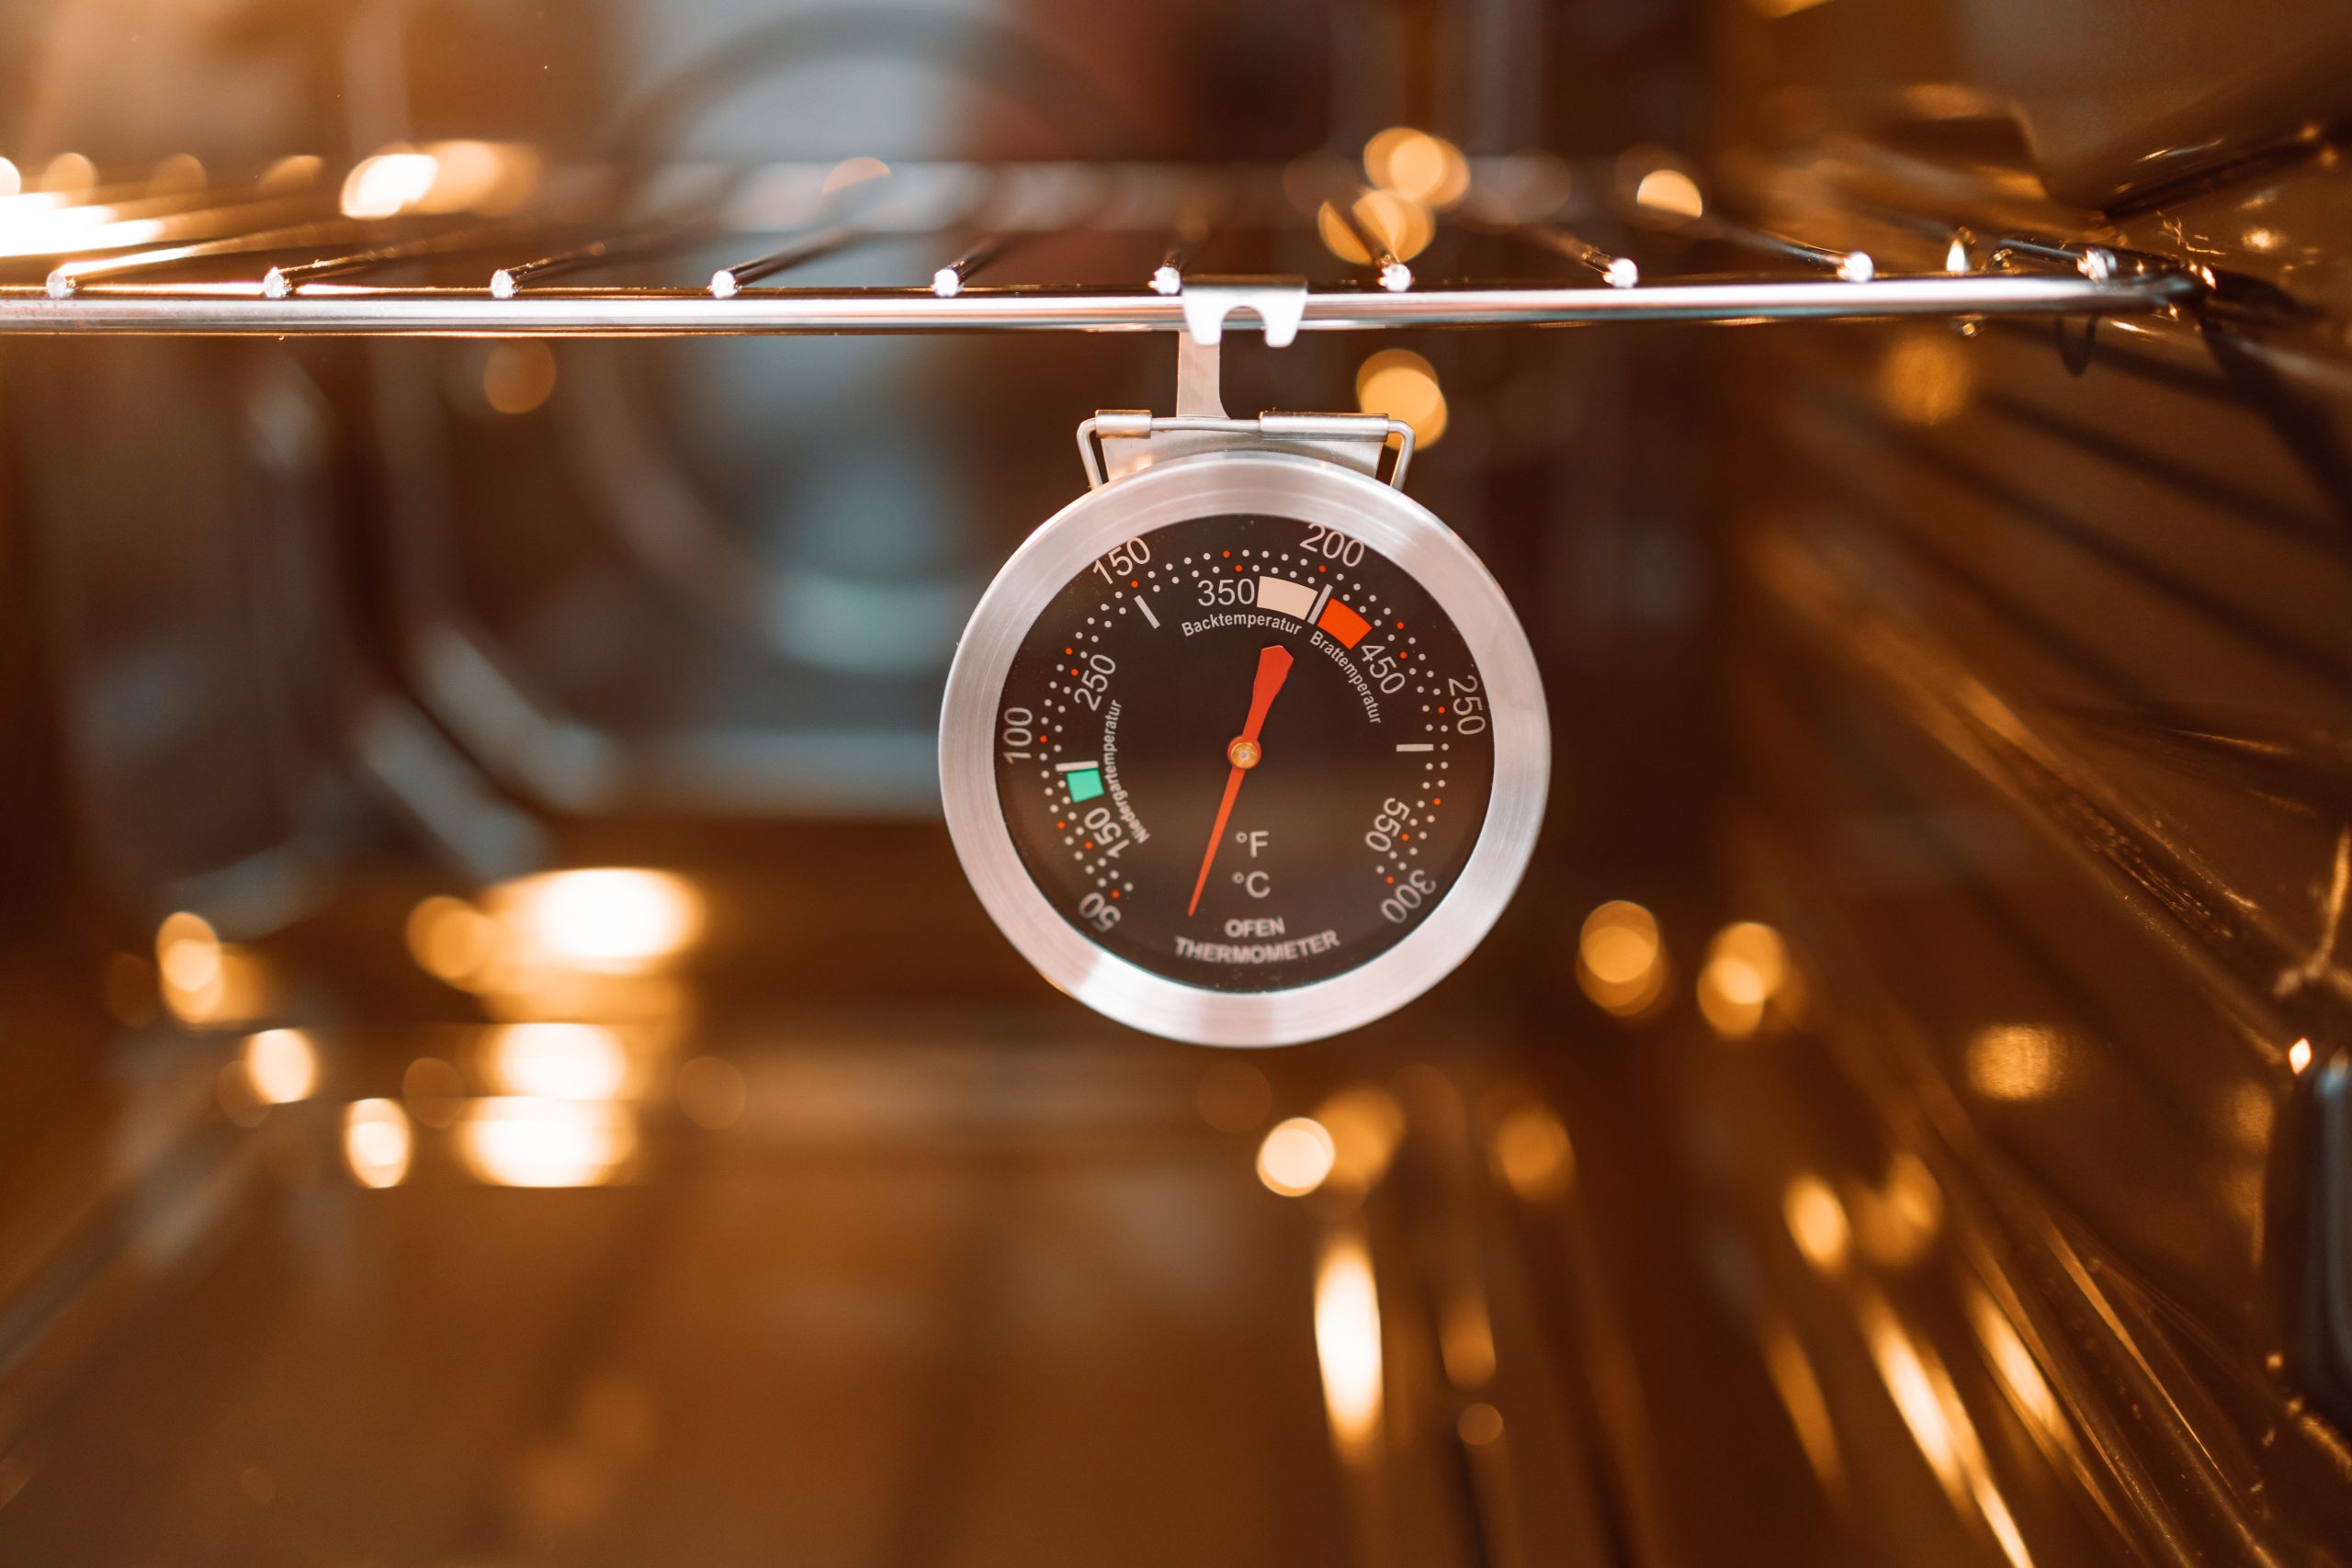
Is Organization the Reason Your Fridge Is Too Warm?
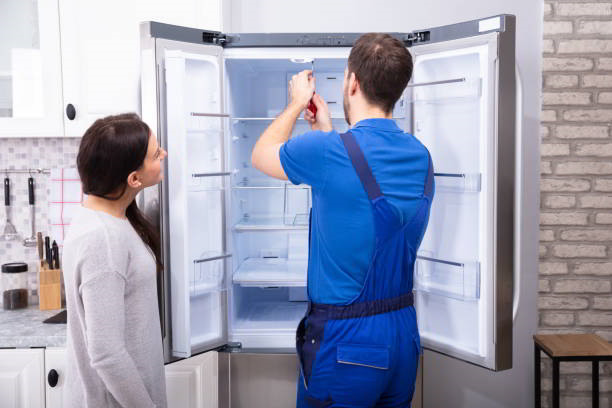
If the tips above worked for you but your fridge is still running too warm, it’s time to schedule a technician. Your fridge may be in need of general maintenance and repair, or it may be time for an upgrade.
If you live in the Santa Barbara area, you can schedule same-day or next-day service with Superior Appliance Repair.